During routine radiator coolant top up activity, i found out that my top radiator hose leaked. This call for short trip to car spare part shop. Below steps I did to replace it.

Spare part:
1. 1. Hose radiator up- PN PW823117- 1 unit. RM17.00

Tool:
1. Long nose plier. (please get a minimum jaw length of 2 inch).
2. Philips head screw driver. (I'm using the standard philips head screw driver that come with the car.)

Precaution
1. Do not perform this while your engine is still hot. Wait until the engine cool down.
2. Remove the key while working. You do not want somebody turn on the engine accidentally.
Steps.
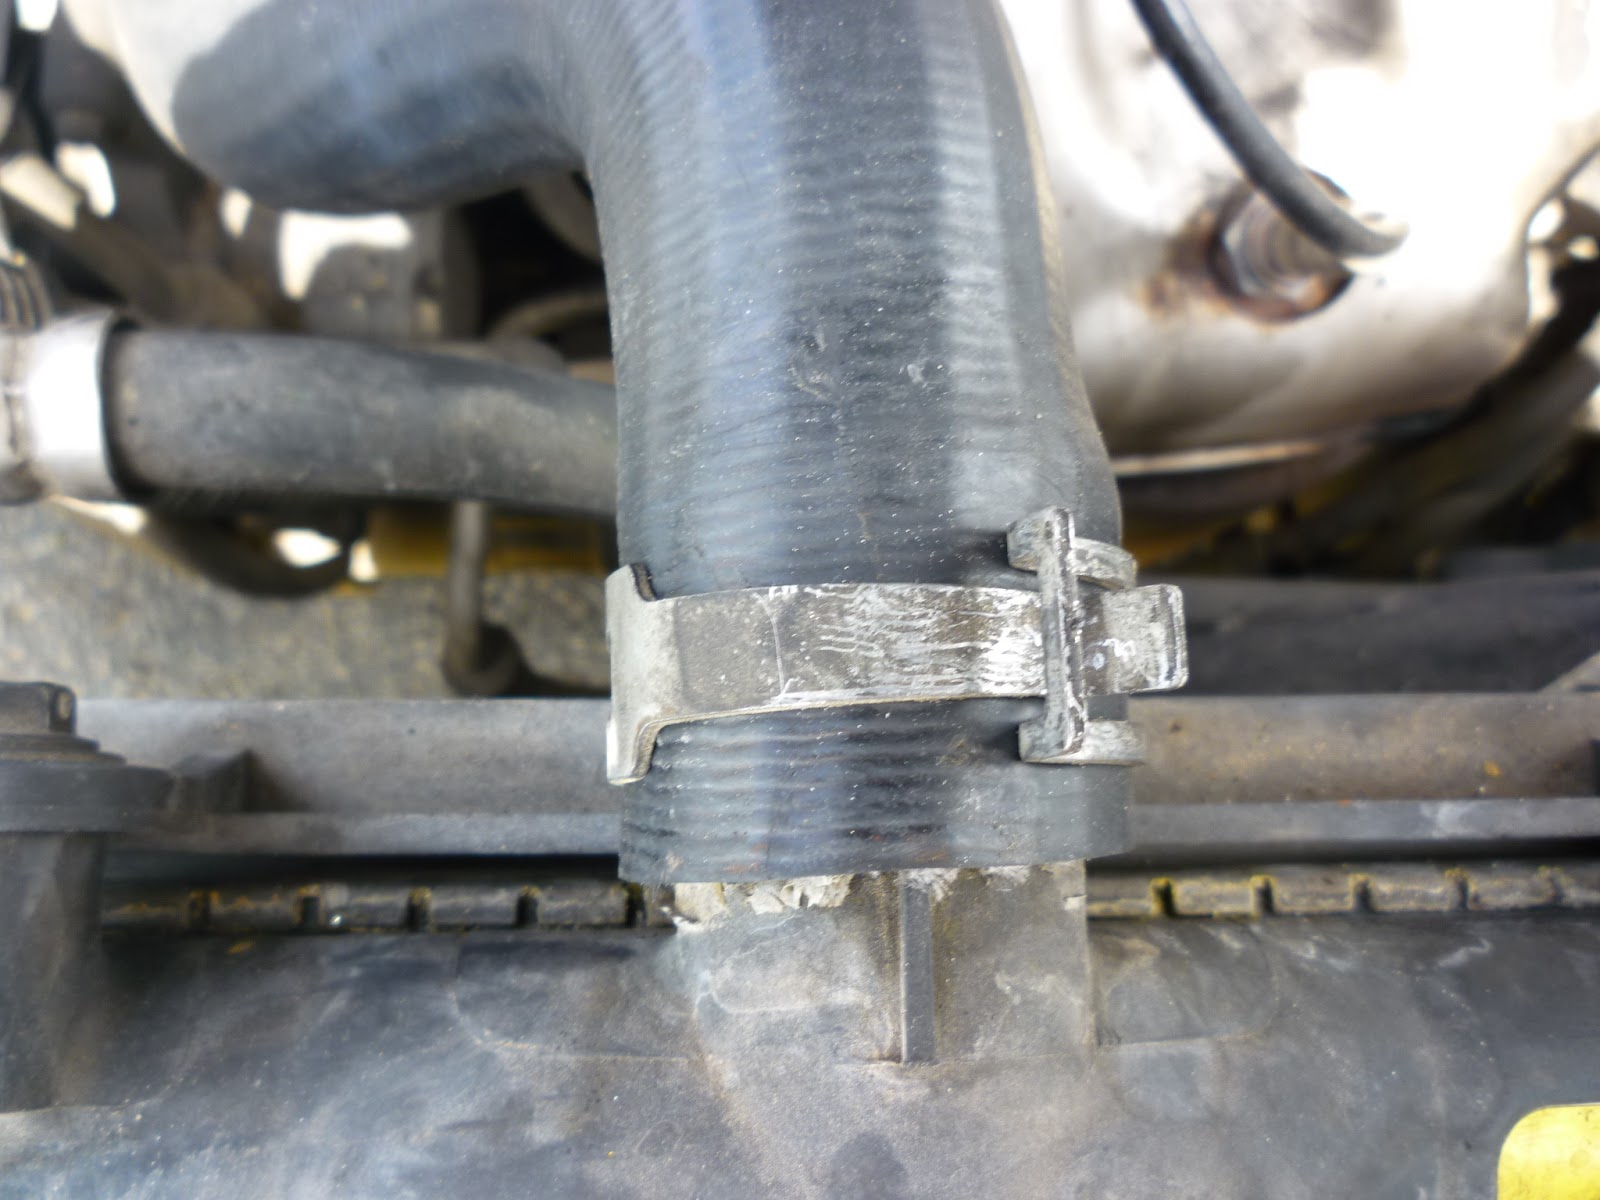
1. Use the long nose plier to loosen the clamp grip on the hose to radiator.
2. Remove the hose from radiator.

6. Insert both clamp to the new hose.

7. If you have gasket maker. Apply it to the outside of the holes and inside the hose where contacts will take place. Best to use a high temperature gasket maker as picture example below.

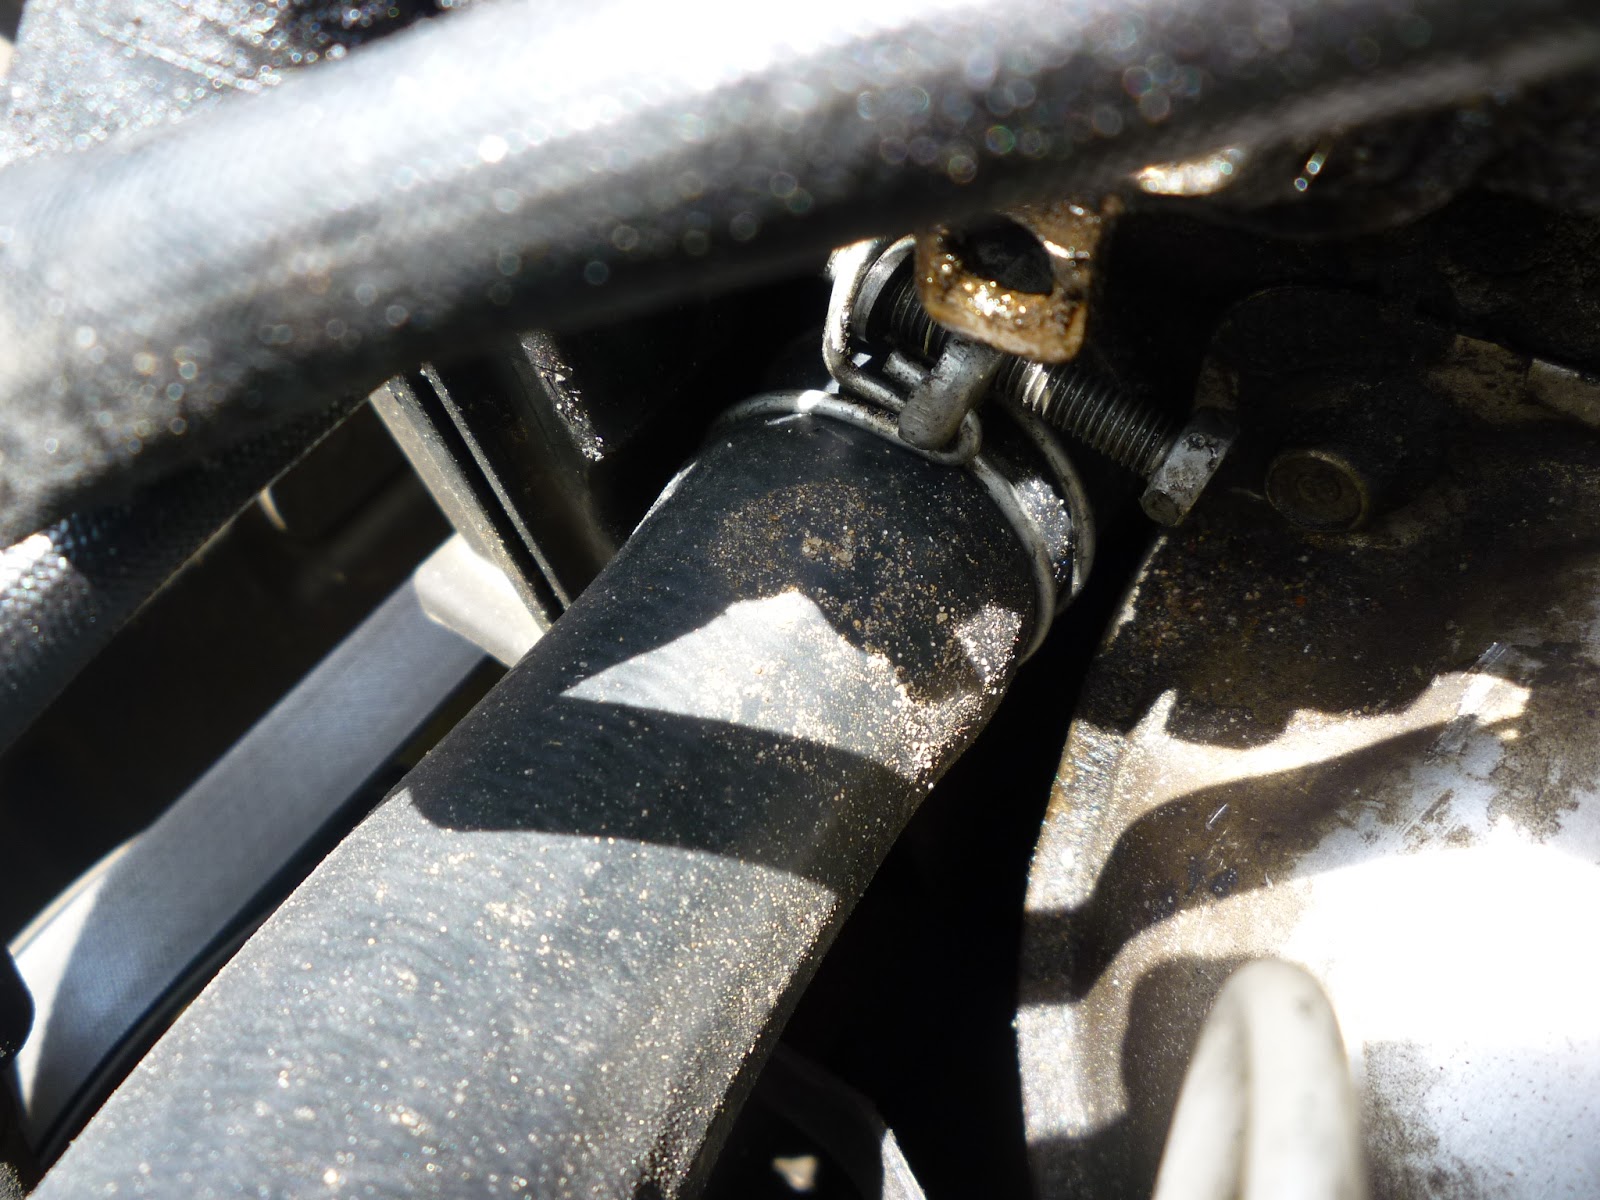
9. Push the clamp close to the end. Leave 1-2 cm clearance from the hose end.
10. Use philip head screw driver to tighten the clamp.
11. Identify the hose end with the bigger diameter. Insert this end to the radiator.
12. Use long nose plier to loosen and adjust the clamp. Position the clamp close to the end. Leave 1-2 cm clearance from the hose end. Below picture with new hose installed.

13. Top up the coolant into the radiator.
14. Close back the coolant cap.
14. Clean up the work place. Ensure all tools are not left inside the engine bay.
15. Start the engine. Observe for any leaks while the engine is running for 2 minutes.
16. Turn on the air cond. By this stage, your engine will be running hot and your water pump will start circulating coolant to and from your engine to radiator.
17. Observe the water temperature gauge in your meter cluster. You do not want to see the temperature going into the red zone. Mine showing the needle pointing almost near 90 degree celsius well below the red zone. Remember, RED ZONE = ENGINE OVERHEAT.
Discussion
1. This replacement work take me one hour to remove old hose and install the new hose.
2. I am a bit surprised that I only use very minimum tool for this work. 1 plier and 1 screw driver only.
3. Radiator hose is made from layers of rubber with some steel wire in the middle for structure integrity. Rubber is susceptible to damage from high temperature (brittle) and oil (dissolving).
4. Age of the car is a factor that may be causing the broken hose.
Thanks Bro...this just happen to my car today. You did help a lot
ReplyDeleteDid you need to bleed air out of the system?
ReplyDeleteVery good tips and clear instruction for easy DIY hose replacement. Thanks.
ReplyDeleteVery good tips and clear instruction for easy DIY hose replacement. Thanks.
ReplyDeleteGood input
ReplyDeleteGood input
ReplyDeletethank you, good info
ReplyDeleteTo replace the radiator top hose on a proton ge first drain the coolant, then loosen the hose clamps and remove the old hose. Install the new hose securely, tighten the clamps, and refill the coolant before checking for leaks.
ReplyDeleteThe build on these pitbull for sale is just unbelievable.
ReplyDelete